Building for QNX: Difference between revisions
mNo edit summary |
mNo edit summary |
||
| (3 intermediate revisions by the same user not shown) | |||
| Line 20: | Line 20: | ||
1. Clone the Qt 3D Studio repository from https://code.qt.io/qt3dstudio/qt3dstudio.git. You can clone the repo with the ''git clone'' command: | 1. Clone the Qt 3D Studio repository from https://code.qt.io/qt3dstudio/qt3dstudio.git. You can clone the repo with the ''git clone'' command: | ||
git clone git://code.qt.io/qt3dstudio/qt3dstudio.git | git clone <nowiki>git://code.qt.io/qt3dstudio/qt3dstudio.git</nowiki> | ||
'''Note:''' If you want to use the HTTPS protocol, you can clone the Qt 3D Studio with the following command: | '''Note:''' If you want to use the HTTPS protocol, you can clone the Qt 3D Studio with the following command: | ||
git clone https://code.qt.io/qt3dstudio/qt3dstudio.git | git clone <nowiki>https://code.qt.io/qt3dstudio/qt3dstudio.git</nowiki> | ||
2. Open ''qt3dstudio.pro'' in the Qt Creator. ''qt3dstudio.pro'' is located in the root of the cloned repository. | 2. Open ''qt3dstudio.pro'' in the Qt Creator. ''qt3dstudio.pro'' is located in the root of the cloned repository. | ||
| Line 50: | Line 50: | ||
2. Run the following ''git submodule'' commands: | 2. Run the following ''git submodule'' commands: | ||
''git submodule init | ''git submodule update --init --recursive'' | ||
3. Open ''ogl-runtime.pro'' in Qt Creator. ''ogl-runtime.pro'' is located in the root of the cloned repository. | 3. Open ''ogl-runtime.pro'' in Qt Creator. ''ogl-runtime.pro'' is located in the root of the cloned repository. | ||
| Line 59: | Line 58: | ||
4. Select the desired prebuilt QNX component and select ''Configure Project''. | 4. Select the desired prebuilt QNX component and select ''Configure Project''. | ||
[[File: | [[File:QNX prebuild.png]] | ||
5. Add a build step with argument ''install''. | 5. Add a build step with argument ''install''. | ||
Latest revision as of 10:20, 14 June 2019
Before you build the OpenGL Runtime for QNX, you will need to install Qt for QNX and Qt 3D Studio.
Install Qt for QNX
1. Download and install QNX SDP 7.0 from the QNX software center.
2. Run the Qt online installer. You can get it from https://www.qt.io/download.
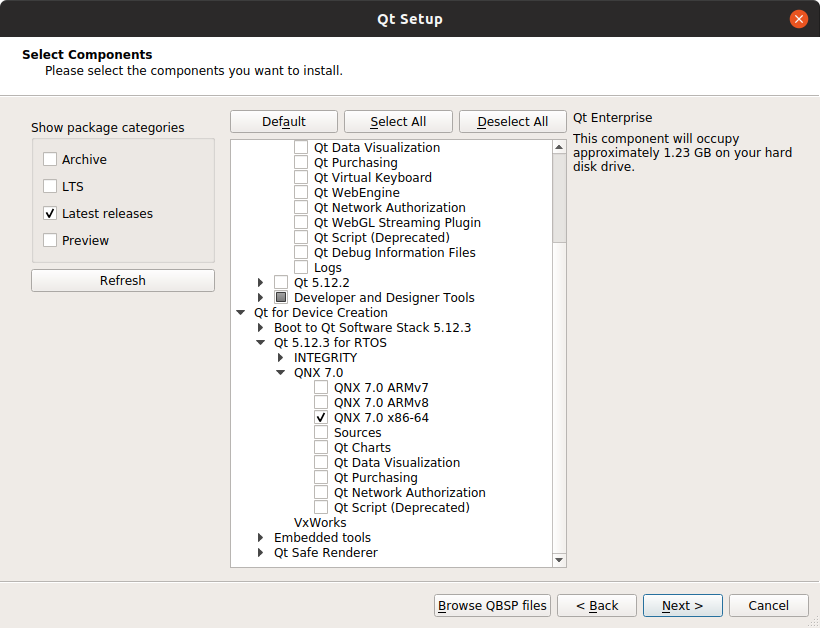
3. Select the desired prebuilt QNX component, select Next.
4. Select the folder where your QNX SDP is installed.
5. Press Next, then press Install. The Qt Creator will now run.
Install Qt 3D Studio
1. Clone the Qt 3D Studio repository from https://code.qt.io/qt3dstudio/qt3dstudio.git. You can clone the repo with the git clone command:
git clone git://code.qt.io/qt3dstudio/qt3dstudio.git
Note: If you want to use the HTTPS protocol, you can clone the Qt 3D Studio with the following command:
git clone https://code.qt.io/qt3dstudio/qt3dstudio.git
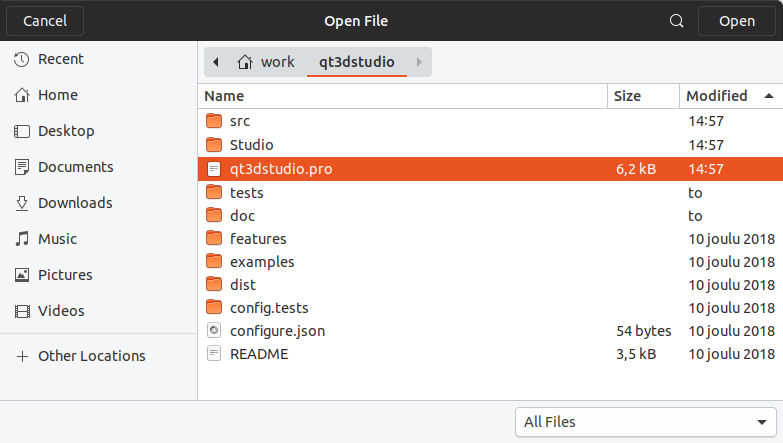
2. Open qt3dstudio.pro in the Qt Creator. qt3dstudio.pro is located in the root of the cloned repository.
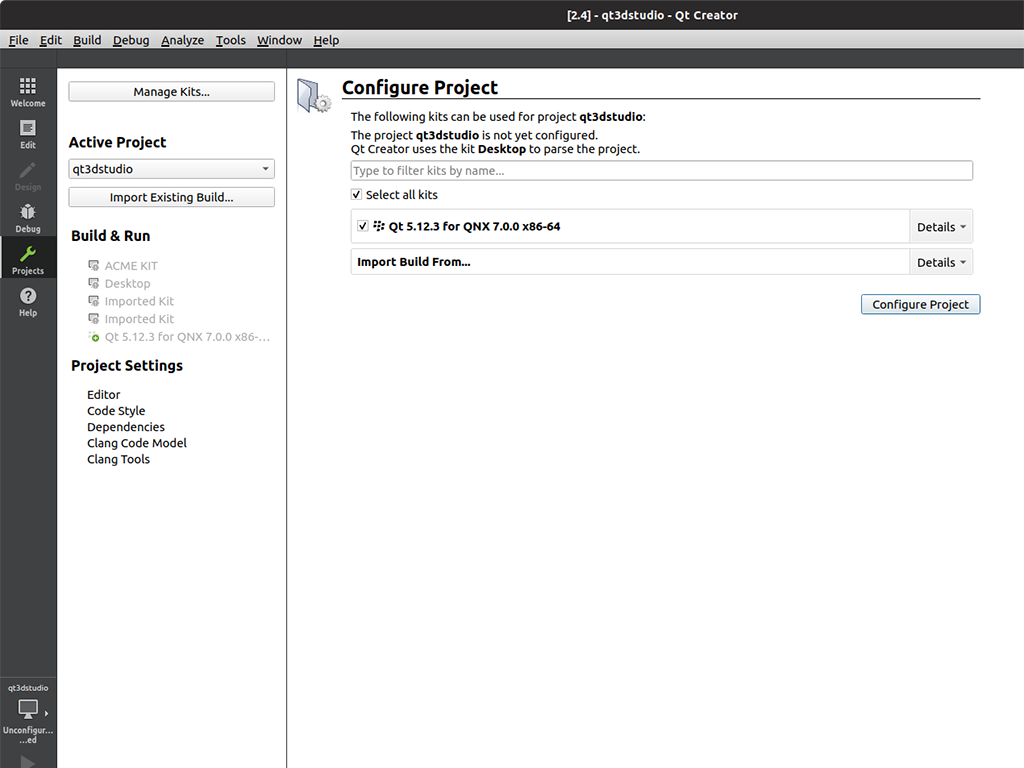
3. Select desired prebuilt QNX Component.
4. Press Configure Project.
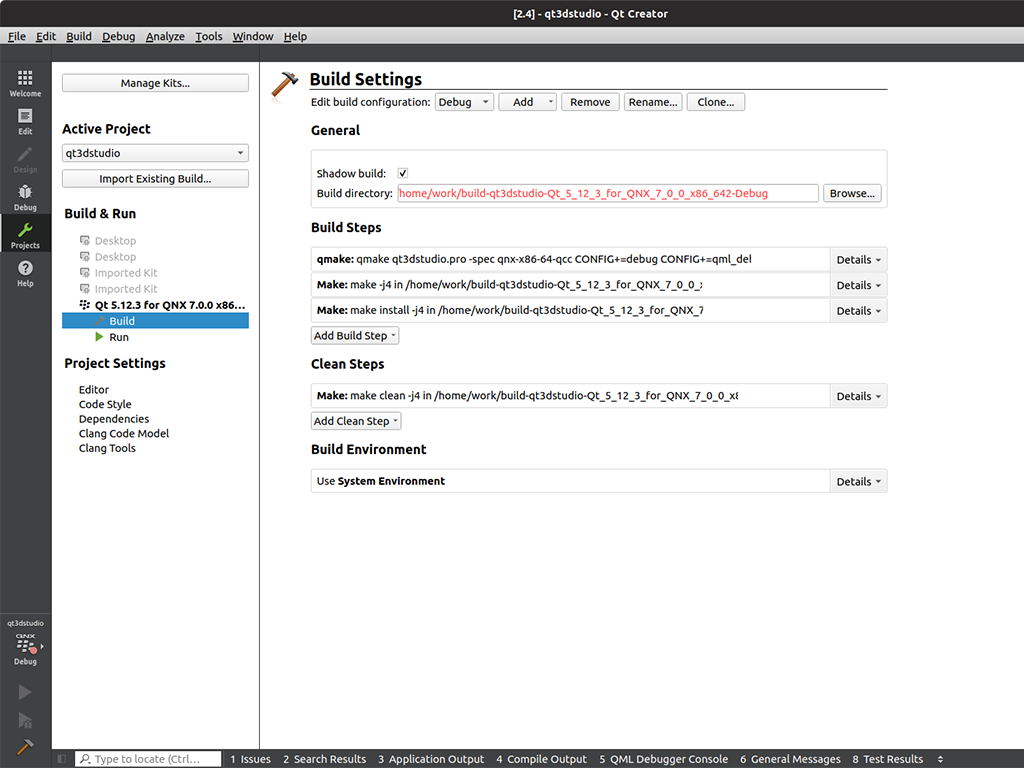
5. Select the Project tab and Build Settings.
6. Add a build step with the argument install.
7. From the menu, select Build > Build Project "qt3dstudio".
Build the OpenGL Runtime
1. Clone the OpenGL Runtime repository from https://code.qt.io/cgit/qt3dstudio/ogl-runtime.git/. You can clone the repo with the git clone command:
git clone git://code.qt.io/qt3dstudio/ogl-runtime.git
Note: If you want to use the HTTPS protocol, you can clone the OpenGL Runtime repo with the following command:
git clone https://code.qt.io/qt3dstudio/ogl-runtime.git
2. Run the following git submodule commands:
git submodule update --init --recursive
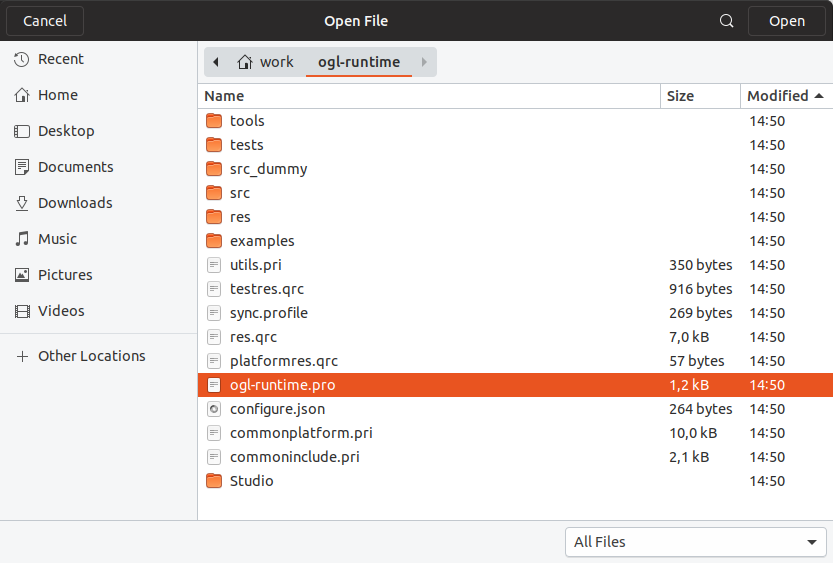
3. Open ogl-runtime.pro in Qt Creator. ogl-runtime.pro is located in the root of the cloned repository.
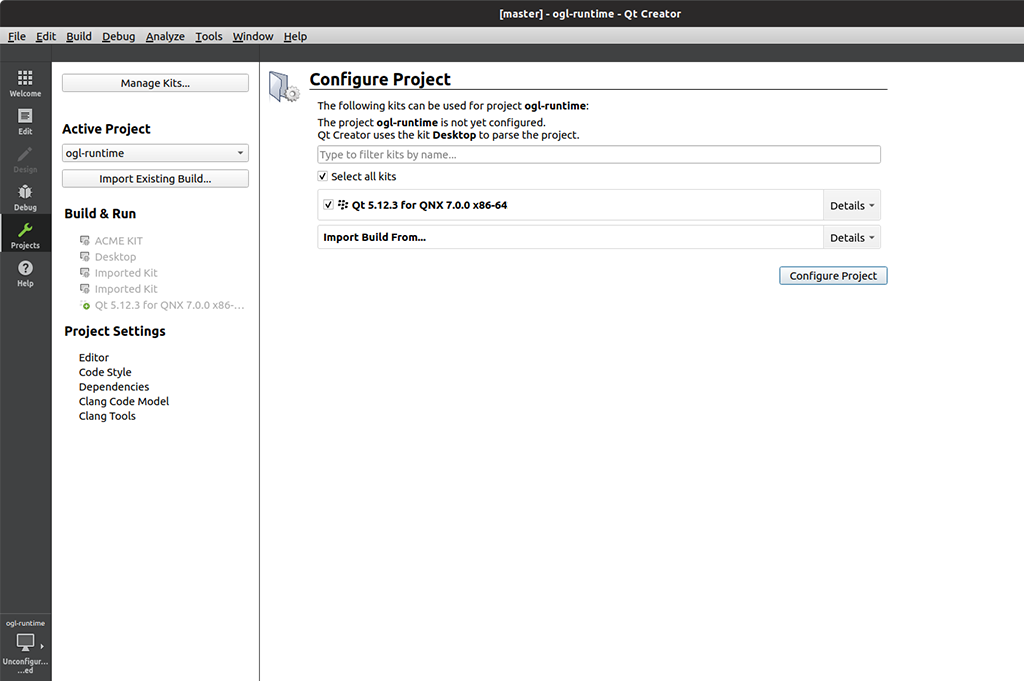
4. Select the desired prebuilt QNX component and select Configure Project.
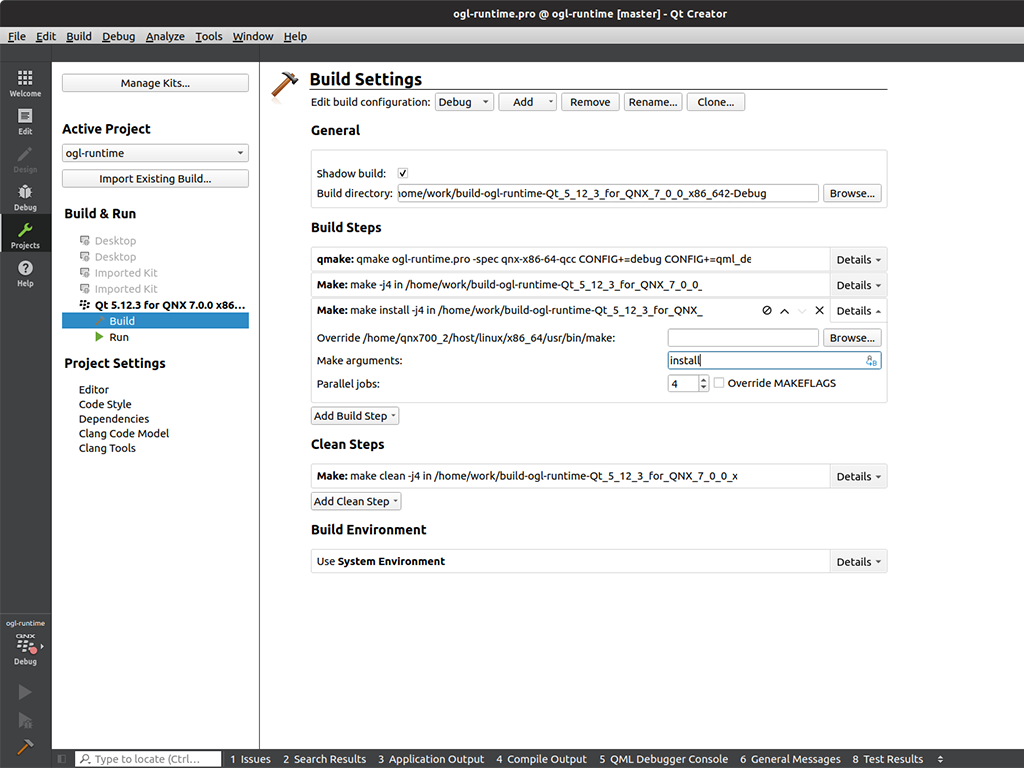
5. Add a build step with argument install.
6. From the menu, select Build > Build Project "opengl-runtime".
7. The Runtime is installed to the same folder where you have installed the QNX prebuilt components.
I.e. ~/Qt5.12/5.12.3/qnx7_x86_64/
Deploy the OpenGL Runtime
To deploy to the target device, follow the steps below:
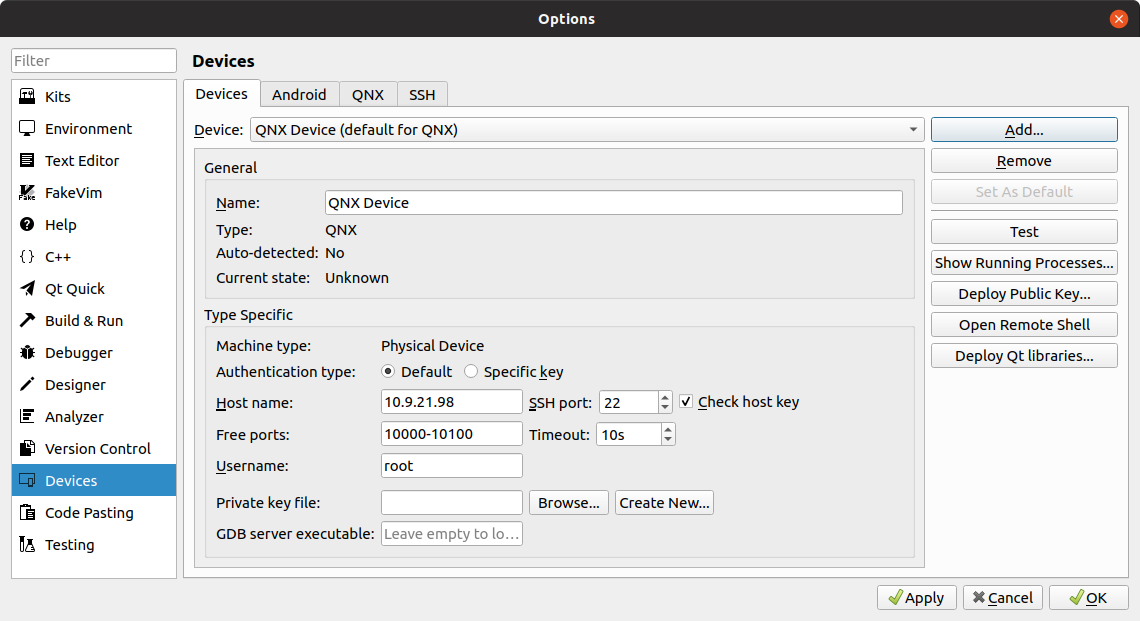
1. In Qt Creator, select Tools > Options from the menu.
2. Select the Devices tab
3. Select Add.
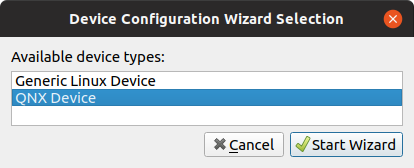
4. Select QNX Device, then press Start Wizard.
5. Press Deploy Qt Libraries. This will also deploy Qt and Qt 3D Studio binaries and libraries.
